
3D Printed 4WD (Four Wheel Drive) Toy Car
Today's post is about building a four-wheel drive (4WD) toy car, out of little more than a couple motors and 3D printed parts. There are numerous well-written blog posts by makers that set out to build simple toy cars, but most use some commercially available chassis or wheels, whereas I will take a more DIY approach in this post.
Materials
In this post we'll set out to build a 4WD toy car using only a 3D printer, filament, and the following parts:
- Motors: two dual-shaft geared hobby motors.
- Power: one battery pack connecting two AAA batteries in series.
- Connectors: one lever-nut connector (2 circuit type).
- Tires: four 2" diameter O-rings. Not your traditional tire, but the per-unit cost works out to be a very thrifty solution!
Most of my projects, including this one, are optimized for per-unit cost -- but I tend to buy my materials in larger than necessary unit quantity, on the thought that I'll likely need similar components in other future projects. If you want to buy only the precise quantities that are necessary, you might have to shop around a bit more to find what you are looking for.

If you think in terms of unit costs as I do, this project's total cost should be in the range of $6 (motors) + $1.10 (battery pack) + $0.55 (lever-nut connector) + $0.80 (O-rings), for a total under $9.00.
* if you are so inclined, you can also use five #8 machined screws (1.5") and nuts to bolt the unit together tightly, but in practice I've found that the assembly fits together so tightly that the bolts aren't necessary
3D Printed Components
This project only involves two types of parts -- wheels (4), and chassis plates (2). Admittedly, the parts are intricately modeled to perfectly fit the particular model of dual-shafted geared hobby motor called for in the materials section, but it's an extremely popular model available from many vendors.
Chassis Plates & Assembly
This project calls for two identical chassis plates (download STL file here):

Two of these (I printed them with PLA but any conventional filament type should work fine) create an arrangement that will "sandwich" the dual-shaft motors into place:

Notice the inversion of the dual-shaft motors -- this sets up an arrangement where the motor shafts are naturally towards the outer ends of the chassis, and as a bonus, the wiring can be red-to-red and black-to-black. With the motors firmly secured between the mounting plates (use the optional #8 machined screws if you want extra certainty), move on to wiring the black leads of the two motors to the black lead on the battery pack, and the red leads on the two motors to the red lead on the battery pack:

In preparation for the lever-nut connection, you may need to use wire strippers to ensure that an ample amount of stranded wire is exposed for the lever-nut to connect to. And, of course, if you'd rather solder the connections, you can skip the lever-nut entirely.
Now with the motors secured between the chassis plates, the motor leads firmly connected in the lever-nut, and the battery pack leads firmly connected in the lever nut, the chassis assembly is complete:

You may wish to use some adhesive, two-sided tape (as shown above), or zip ties to affix the lever-nut and the battery pack to the top of the chassis.
Next, on to printing/assembling/attaching the wheels to the motor shafts!
3D Printed Wheels
A topic that deserves special attention is the idea of 3D printed wheels. There are a variety of elaborate approaches that have been discussed by makers seeking to create homemade wheels and/or tires for small-scale robotic projects -- everything from cutting out foam circles to printing a mold and filling it with polyurethane rubber. The typical challenge is that PLA and many other popular filament types are prone to producing a very slippery (some call it greasy) feeling part. That may be fine for many types of applications, but it's terrible for wheels where traction is a fundamental need.
My personal preference, then, is to 3D print a wheel designed to receive some type of tire as a slip-on. The challenge? To the extent that you can find rubberized tires appropriate for the small scale of this toy car, they'll very likely cost as much as all of the other components in the project combined. That doesn't feel right.
My creative solution: using aerospace O-Rings. They are available in bulk, are very cost-efficient on a per-unit basis, and are manufactured to exacting standards. If you see one that is advertised as 2" ID (inner diameter), you can bet that it's going to very precisely end up matching that 2" inner diameter spec.
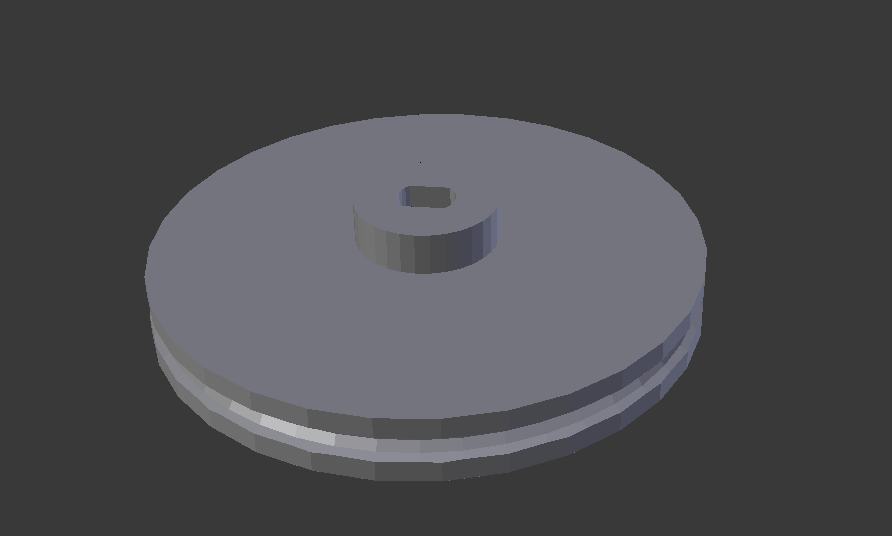

I've made my wheel design in a way that snugly fits the rounded/flattened shafts of the dual-shaft geared motors, so that the wheels can slide directly on. That design, paired with the use of a fitted o-ring as a tire riding in a groove of the wheel, make for a hassle-free assembly of the four wheels you'll need.
Here's the STL file for the wheels (print four, of course). The o-rings specified in the materials list will fit snugly into the groove that is intentionally modeled along the circumference of the wheel.
Final Assembly
With the four wheels and their associated o-rings in place, and the chassis assembly in-hand, all that is left to do is to slide each wheel onto one of the motor shafts. The result should be a toy car that looks like this:
Once you throw the battery pack switch from "Off" to "On", your toy car should be cruising!
Future Improvements
I'd love to create a version of this car that does something smarter about how to stow the lever-switch and battery pack. I'd like to avoid tailoring a 3D part uniquely/specifically to the exact models of lever-switch and battery pack that I'm using, though, because I think those are the two components of this project that are most likely to be replaced by some equivalent (but non-identical) part that someone has on-hand in their workshop already. So, a good mechanism for offering some type of mount or constraint for those components -- but allowing some "give" for differing choices of parts -- remains a to-do for a future iteration.
I'm glad I #justbuiltit -- this project is something I've wanted to do for awhile, and the result -- especially that it requires so few supplies -- is very satisfying!